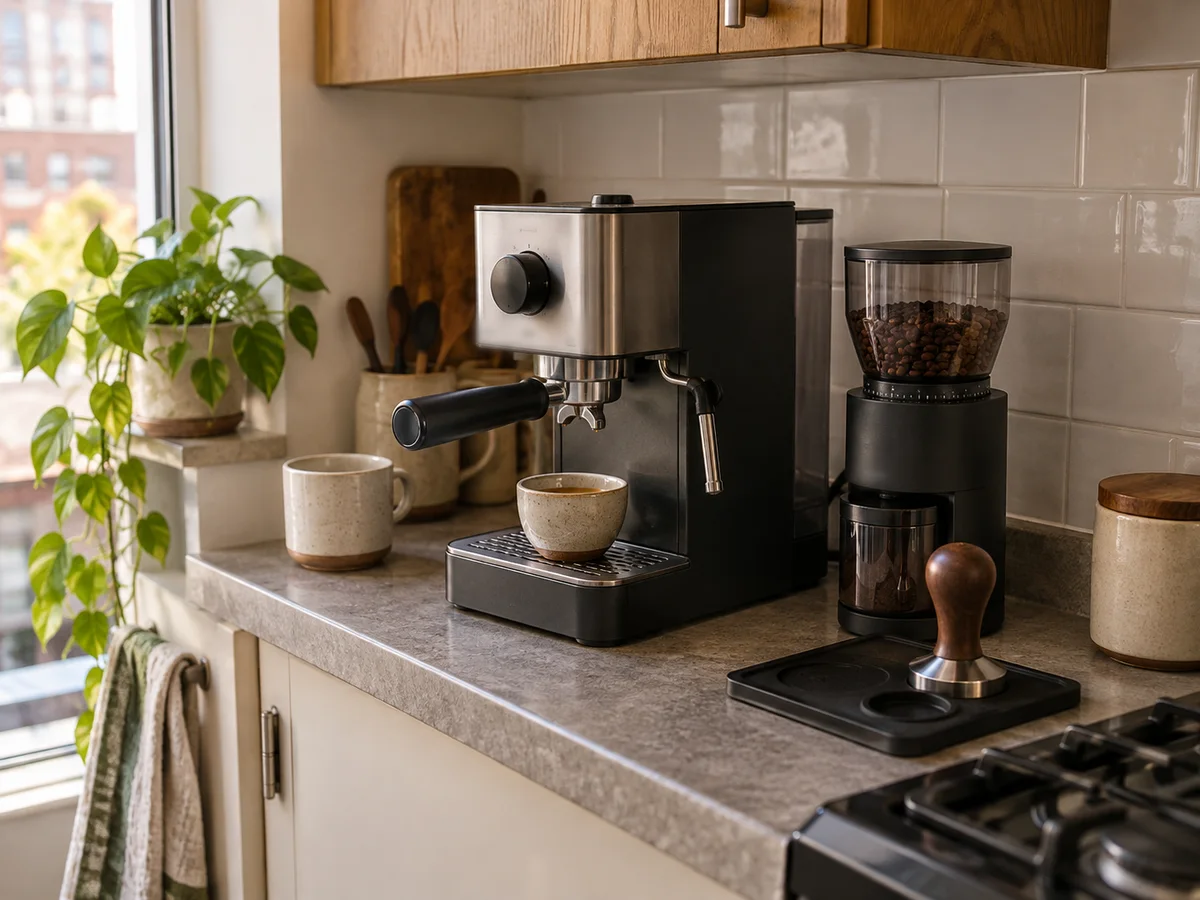
An espresso setup can look complicated before you make the first drink. The machine needs water and cleaning space, the grinder creates loose grounds and small tools quickly spread across the counter. A good beginner espresso corner solves those basic workflow problems before adding decorative accessories or upgrades.
Use this guide to plan a compact station that is easy to understand, clean and adjust over time.
Disclosure: This post may contain affiliate links. If you buy through one of these links, we may earn a commission at no extra cost to you.
1. Start with the espresso machine footprint
Measure more than the base of the machine. Include the space needed to remove the water tank, open the bean hopper if the machine has one, attach the portafilter, raise a cup and remove the drip tray.
Check the manufacturer’s clearance, ventilation and electrical instructions. Place the machine on a stable surface close to a suitable outlet and away from the edge.
2. Leave a working zone beside the machine
Keep a small open area beside the machine for dosing, tamping and setting down the portafilter. This surface is more valuable than another decorative container.
If the station is very narrow, use a removable mat or tray during preparation and store it vertically after cleaning.
3. Place the grinder where grounds are easy to contain
If you use a separate grinder, place it near the working zone so the path from grinder to portafilter is short. This reduces the area where loose grounds can fall.
Choose a grinder only after checking dimensions, adjustment method and cleaning access. Avoid treating a grinder as mandatory if your current espresso method does not require one.
4. Add a knock box only if it improves cleanup
A knock box gives used coffee pucks a temporary place close to the machine. It can make cleanup more direct, but it also takes surface space and needs frequent emptying.
Look for a size that matches your actual volume of drinks and fits the available zone. If you make espresso only occasionally, another disposal routine may be simpler.
5. Keep small tools on one mat or tray
Group the tamper, dosing tool and cleaning brush in one defined area. A tamping mat can protect the work surface, while a small tool tray keeps pieces from drifting around the station.
Choose the version that fits your workflow instead of buying both automatically.
6. Store beans in one practical container
Keep only a reasonable working amount of coffee at the espresso corner. Store it according to the roaster’s guidance and place the container away from heat, moisture and direct sunlight when possible.
Choose a canister that fits the shelf and is easy to open during the routine. Do not rely on unverified promises about an exact number of freshness days.
7. Add a small scale when you are ready to measure
A compact coffee scale can help you repeat a recipe and understand what changed between shots. It is a useful learning tool, but the station does not need every accessory on day one.
Check that the scale fits the drip tray or working area where you plan to use it. Keep it dry and follow the maker’s instructions.
8. Give milk tools a separate place
If you make milk drinks, keep the pitcher and clean cloth together near the machine. Store milk itself in the refrigerator and clean milk-contact tools promptly according to the equipment instructions.
One pitcher in the size you normally use is enough for a beginner station. Extra sizes can remain an upgrade for later.
9. Build cleaning into the layout
Leave enough room to remove and rinse the drip tray. Keep the machine’s cleaning brush or cloth close, with other cleaning products stored safely away from drink ingredients.
Follow the machine manual for cleaning cycles, approved products and maintenance timing. Different machines have different requirements, so generic advice should not replace the manual.
10. Keep upgrades optional
Use the basic setup for several weeks before adding distribution tools, multiple baskets, extra pitchers or display storage. Note the repeated problem first, then choose one item that addresses it.
An upgrade should make a real step easier, more consistent or cleaner. If it only fills an empty space, the espresso corner may work better without it.
A simple left-to-right espresso workflow
If space allows, arrange the station in the order you use it:
- Beans and grinder
- Dosing and tamping area
- Espresso machine
- Knock box and cleaning cloth
Left-to-right is only an example. Reverse it if that suits your dominant hand, outlet location or sink access. The important point is to keep the path short and prevent clean and used tools from crossing repeatedly.
Beginner setup checklist
Start with:
- A stable surface
- The espresso machine and its required clearance
- A grinder only if needed for your coffee routine
- One tamper or the tools included with the machine
- One cup
- One cleaning cloth and the machine-specific cleaning method
Add later if a clear need appears:
- Knock box
- Coffee scale
- Tamping mat or tool tray
- Milk pitcher
- Additional storage
For a broader organization system, read Coffee Station Organization Ideas for Small Spaces. For a softer café-style look, see How to Create a Home Café in a Small Apartment.
Optional shopping guide
Products to compare
These options match the practical needs discussed above. Measure your space and review the current Amazon listing before deciding.
Paid links. As an Amazon Associate I earn from qualifying purchases.
Why it may fit
Breville Bambino Plus Espresso Machine
An espresso machine to compare when the machine will anchor a beginner setup. Verify current specifications and counter clearance.
Why it may fit
Normcore Tamping Mat
A mat option for keeping tamping tools in one defined zone. Confirm its dimensions leave enough working space beside your machine.
Why it may fit
Fellow Atmos Vacuum Canister, 0.7 L
A compact canister option for beans or grounds. Check that the 0.7-liter size suits the amount of coffee you keep near the station.
Prices and availability can change. Amazon’s current listing controls.
Final thought
A beginner espresso corner should make the next step obvious. The machine has enough clearance, the grinder sits near the preparation area, small tools stay together and cleaning supplies are easy to reach. Start with that clear workflow. Skill and preferences can shape the upgrades later.