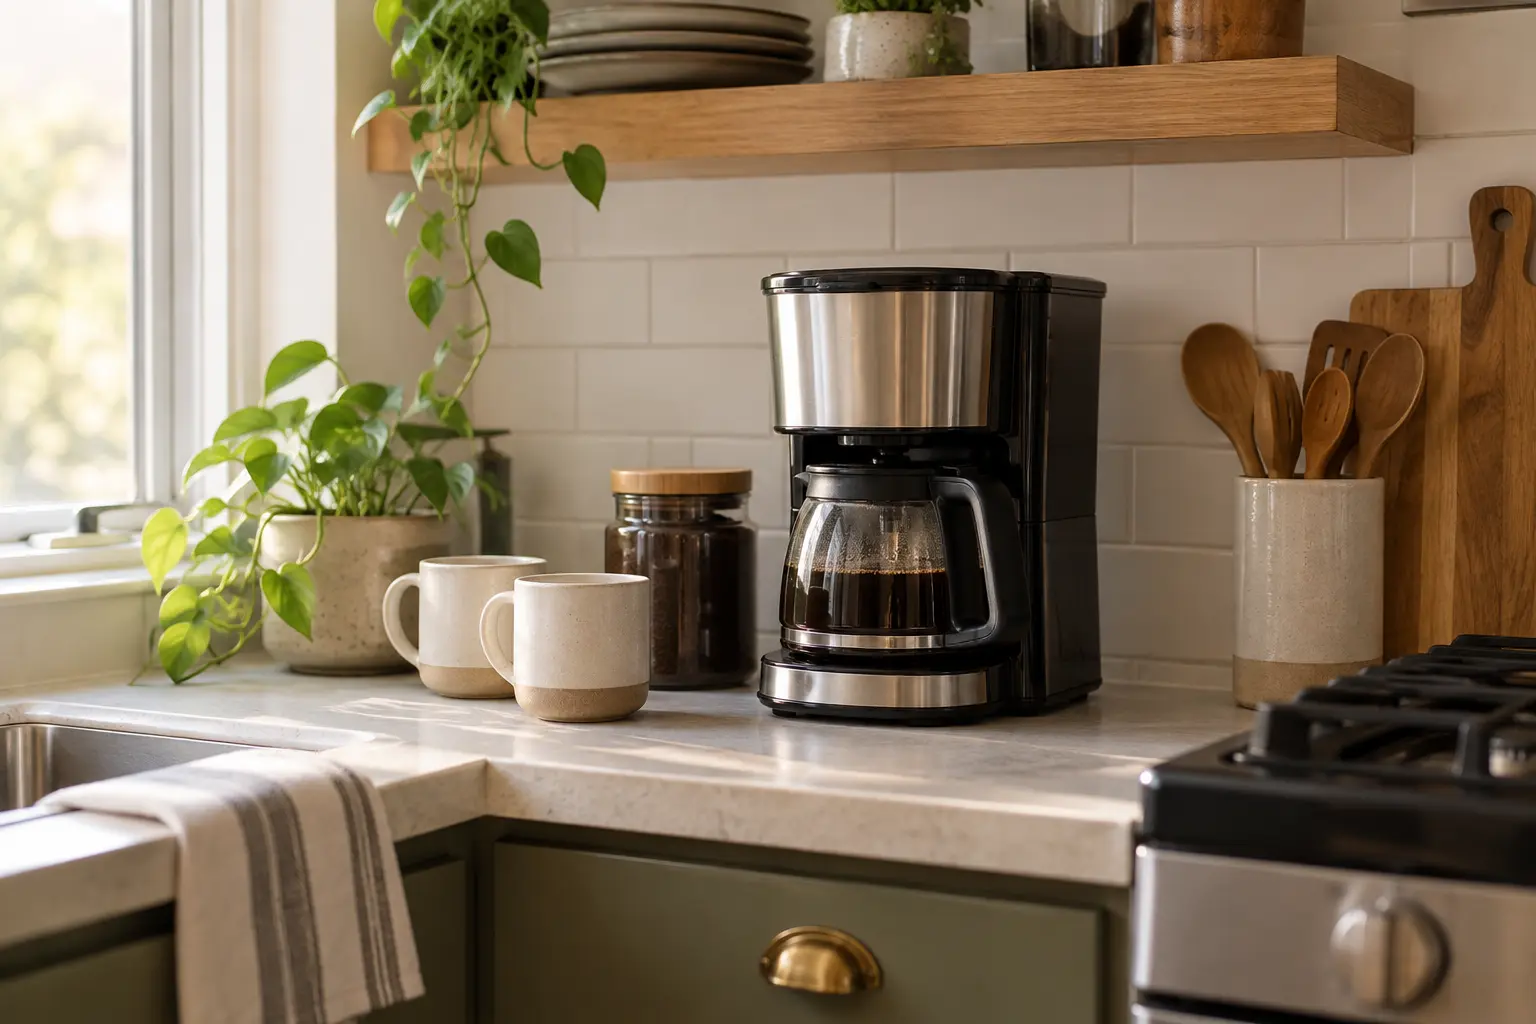
A compact coffee maker can save counter space, but a narrow product is not automatically a good fit for a small kitchen. The machine still needs room for its lid, water reservoir, carafe, cord and normal cleaning. A model that looks small in a product photo may become awkward if it has to be pulled forward every morning.
The best choice is the machine that supports your usual amount of coffee while leaving the kitchen usable. Use this guide to measure the full routine before comparing products.
Disclosure: This post may contain affiliate links. If you buy through one of these links, we may earn a commission at no extra cost to you.
1. Measure the available footprint
Start with the exact section of counter where the machine may live. Measure width and depth, then note the distance to the nearest edge, wall, cabinet and sink. Do not use the total counter measurement if part of it is needed for food preparation.
Mark the possible footprint with painter's tape or a sheet of paper. Leave it in place for a day and complete your normal kitchen routine. If the marked area blocks a drawer, prep zone or walkway, the machine will probably feel too large even when its listed dimensions fit.
For a complete list of what belongs around the brewer, see Coffee Bar Essentials for a Small Space.
2. Include top and front clearance
Product width is only one part of the fit. Check how the water tank opens, where coffee and filters are added and how the carafe or cup is removed. A top-opening lid may need more height than the machine itself, especially beneath an upper cabinet.
Measure the distance from the counter to the cabinet above. Then compare that space with the machine's full operating height, not only its closed height. If the brewer must move forward to open, confirm that there is enough clear counter in front and that moving a hot appliance is not part of the routine.
3. Choose capacity from the normal morning
A larger carafe is useful only when the household regularly drinks that amount. For one or two people, a smaller batch may reduce the machine footprint and the amount of coffee left sitting after breakfast. For a household that serves several cups at once, an undersized machine can create repeated brewing cycles and more work.
Count the cups actually poured on an ordinary weekday. Manufacturer cup measurements may be smaller than the mugs used at home, so compare stated liquid capacity rather than relying only on the cup number in the product name.
4. Check how the water reservoir is filled
A rear reservoir may be difficult to reach when the machine sits beneath a cabinet. A removable reservoir can make refilling easier, but it still needs a clear path to the sink and enough space to lift it out. A narrow opening may require a separate pitcher.
Imagine the full movement: remove the reservoir or open the lid, carry or pour the water, return the part and close the machine. Choose the design that works in the assigned location without splashing nearby outlets or repeatedly shifting other objects.
5. Consider the carafe and serving direction
A glass or thermal carafe needs space to slide out and room for your hand on the handle. Check whether the handle points toward a wall or another appliance in the planned position. If the machine is placed in a corner, confirm that the carafe can be removed without rotating the entire brewer.
Single-serve machines need a different check: measure the tallest mug normally used and confirm the cup platform and drip tray allow it to sit securely. Avoid balancing a mug or removing parts in a way the manufacturer does not recommend.
6. Protect a clear working area
The smallest machine can still crowd a kitchen if every inch around it becomes storage. Keep a landing area for the carafe or finished mug. You should be able to add coffee, place the serving vessel and wipe a spill without moving several containers first.
A small tray may hold filters and a scoop, but it should not fill all remaining counter space. Move backup coffee, extra filters and occasional mugs into a nearby cabinet. Coffee Station Organization Ideas for Small Spaces explains how to separate daily items from backup stock.
7. Plan the cord and outlet safely
Place the brewer close enough to a suitable outlet that the cord does not cross the sink, stove or main prep area. Do not choose a location that depends on an extension cord unless the appliance instructions and local electrical guidance specifically allow the setup.
Keep the cord relaxed rather than tightly bent behind the machine. Check that the plug remains accessible and that heat or steam will not reach nearby electrical connections. If the only outlet creates an unsafe layout, choose another zone before choosing the machine.
8. Make cleaning space part of the measurement
Coffee makers need more than operating clearance. Removable baskets, carafes, drip trays and reservoirs need somewhere to be lifted out, washed and dried. Review the care instructions before buying so you know which parts require regular access.
A machine that is simple to wipe and has parts that fit comfortably in the sink may be more practical than a slightly narrower model with an awkward cleaning routine. Easy maintenance matters because a compact setup leaves little room for wet parts to accumulate.
9. Compare functions you will actually use
Programmable starts, brew-strength controls and warming settings can be useful, but each feature should support a real habit. Begin with the basic requirements: the amount of coffee, the available space and the way the machine is filled and cleaned.
Avoid choosing a larger machine for occasional possibilities. If iced coffee, specialty drinks or several brew methods are rare, those needs may be better handled without permanently expanding the everyday setup.
10. Test the layout before ordering
Use the product's listed dimensions to make a simple cardboard or paper footprint. Mark the height on the backsplash with removable tape and note where the lid, reservoir and carafe will move. Keep the mock footprint in place while opening nearby cabinets and preparing a meal.
This small test catches conflicts that measurements alone can miss. It also gives you a firm maximum size when comparing machines rather than letting a product image define what compact means.
Compact coffee maker checklist
Before buying, confirm all of the following:
- The closed machine fits the measured width, depth and height.
- The lid and reservoir can open fully in the intended location.
- The normal batch size matches the household routine.
- The carafe or mug can be removed without hitting a wall or appliance.
- There is a safe, suitable outlet nearby.
- One clear serving area remains beside the machine.
- Removable parts can be taken out and cleaned easily.
- The listed dimensions come from the current manufacturer or retailer information.
If you are building a full café zone around the machine, continue with How to Create a Home Café in a Small Apartment.
Optional shopping guide
Products to compare
These options match the practical needs discussed above. Measure your space and review the current Amazon listing before deciding.
Paid links. As an Amazon Associate I earn from qualifying purchases.
Why it may fit
OXO Brew 8-Cup Coffee Maker
A drip brewer to compare for a compact home-café routine. Check the current dimensions and the clearance needed to use and refill it.
Prices and availability can change. Amazon’s current listing controls.
Final thought
A compact coffee maker should make a small kitchen easier to use, not simply occupy fewer inches on a specification sheet. Measure the machine in motion, match capacity to the normal morning and protect enough open counter for serving and cleaning. The right fit is the one that can stay in place without asking the rest of the kitchen to work around it.